
Overview
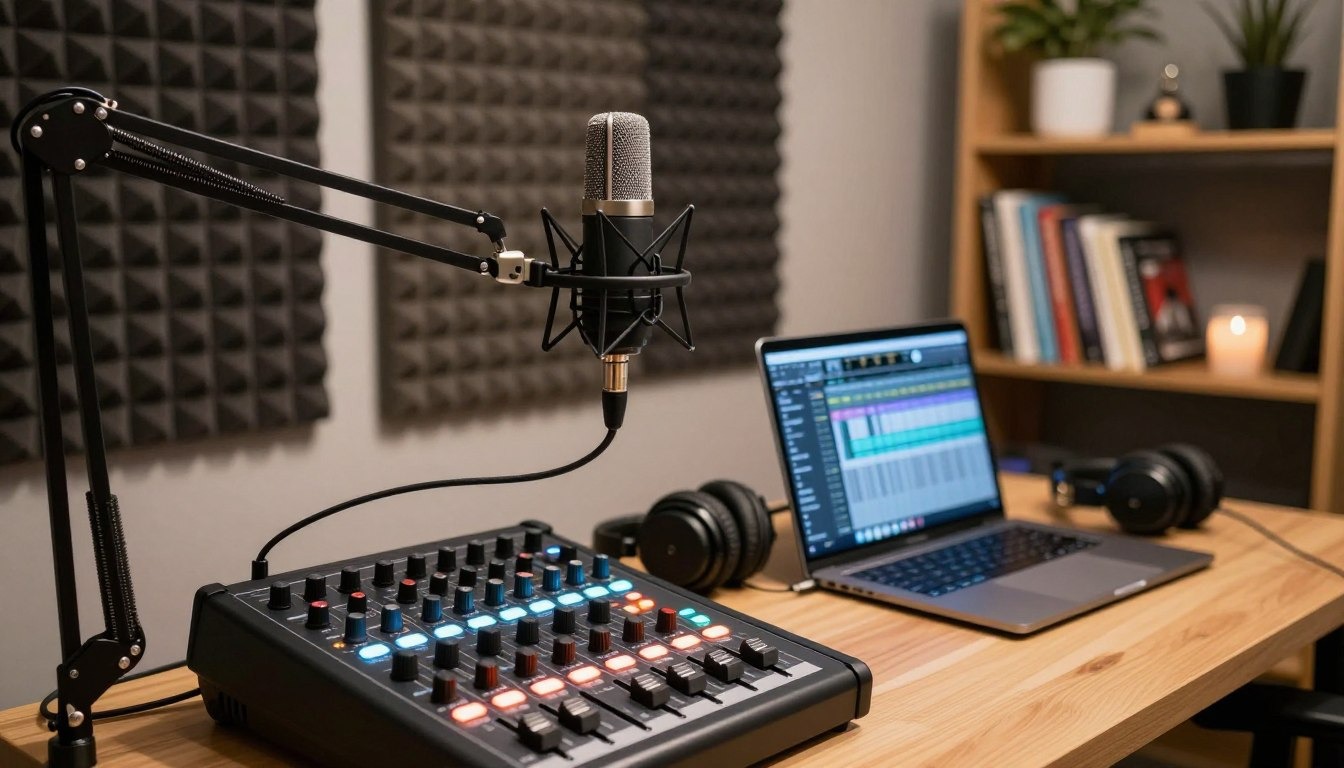
Setting up a professional podcast studio is a crucial step for creators aiming to produce high-quality audio content. In 2026, podcasting gear has advanced with better technology, offering options suitable for beginners and professionals alike. This complete guide covers all essential podcast studio equipment and tools you need to build a powerful setup that delivers crisp sound and smooth workflow.
This guide helps you plan, buy, and connect equipment for audio or video podcasts in the United States. You'll learn about microphones, headphones, audio interfaces, mixers, portable recorders, software, cameras, lights, acoustic treatment, furniture, cables, and storage. These all work together to create your podcast. Podcast Studio Equipments are grouped into essential tools, optional upgrades, beginner kits, multi-host systems, professional setups, and budget levels.
Key Takeaways
- You do not need an expensive studio to produce clear, engaging podcast content.
- Choose equipment based on your budget, room, speaker count, and podcast format.
- Essential tools may include microphones, headphones, interfaces, software, and cables.
- Video podcasts often require cameras, lighting, backgrounds, and stronger room control.
- Good connections, monitoring, and microphone technique can improve sound quality.
- The right setup can grow from a beginner kit into a professional recording system.
What essential equipment do you need to start a podcast studio?
Your podcast studio follows a clear signal path. Your voice goes into the microphone, then through an audio interface, mixer, or recorder. It ends up in recording software. After editing, you export and upload it to a hosting service.
Essential Podcast Studio Equipment List
Your recording chain should match your show format, room, and guest count. A clear plan helps you avoid wasted purchases. This podcast setup equipment list covers the tools that shape sound quality from the first spoken word to the finished file.
Podcasting Microphone Equipment
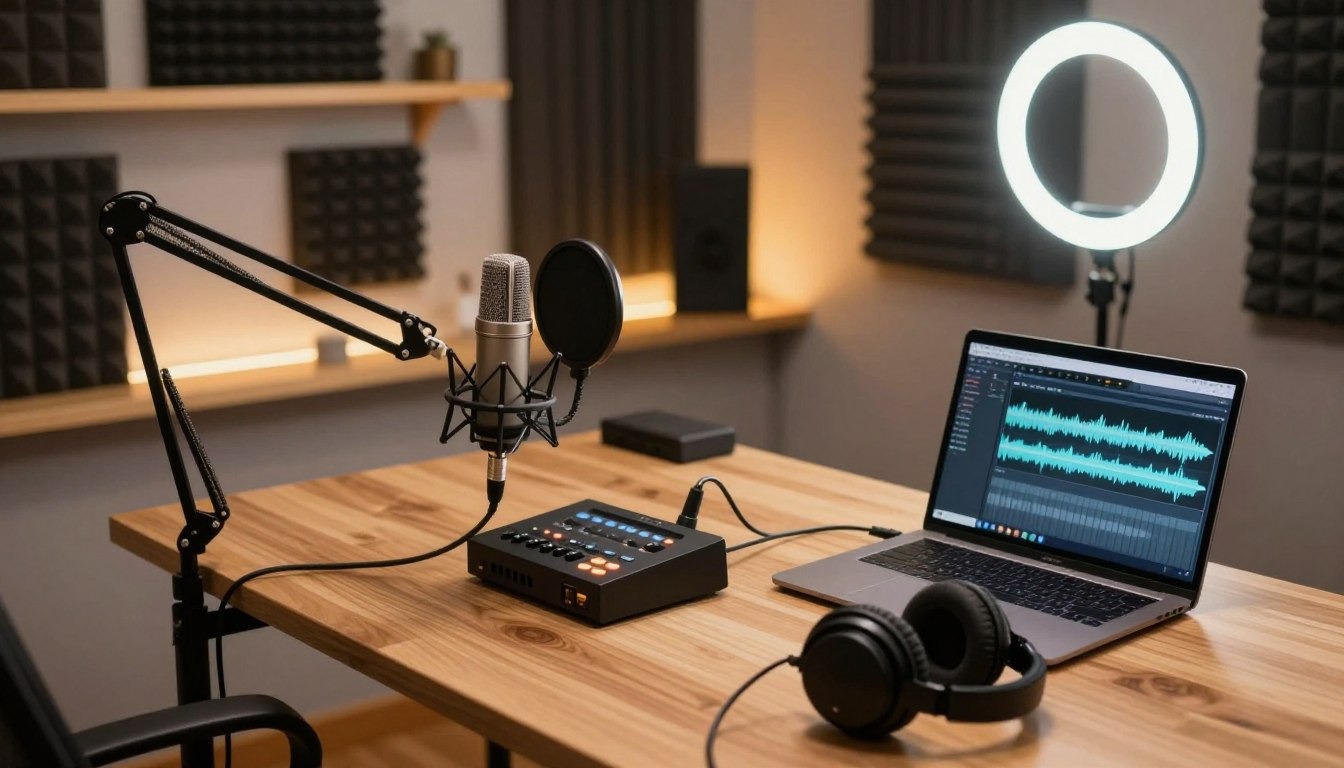
The microphone is the most important part of most recording chains. It captures your voice before editing, mixing, or noise reduction begins. A quality microphone can make speech sound clear, full, and easy to understand.
Your main choices include USB and XLR microphones. USB models connect directly to a computer and suit a simple home setup. XLR models need an audio interface or mixer, yet they offer more control for advanced podcast recording equipment.
Choose a dynamic microphone if your room has traffic noise, fans, or untreated walls. A condenser microphone can capture more detail in a quiet, treated room. Your voice, room, and recording style should guide the choice.
Headphones for Monitoring and Editing
Closed-back headphones let you hear problems during a session. You can catch background noise, hum, distortion, mouth sounds, room reflections, and loose connections before they damage the recording.
Look for a comfortable fit and a neutral sound for spoken-word editing. The Sony MDR-7506 and Audio-Technica ATH-M20x are familiar options for podcast creators. Open-back headphones can work well for editing in a quiet room, but their sound may leak into a live microphone.
Audio Interfaces, Mixers, and Recorders
An audio interface converts the microphone’s analog signal into digital audio for your computer. Many models provide gain controls, headphone monitoring, phantom power, and one or more microphone inputs.
A mixer gives you hands-on control over several voices, music beds, and incoming calls. A portable recorder can capture interviews away from your studio. Choose a device with enough inputs for every host, as each person should have a dedicated microphone and monitoring path.
Useful essential podcasting tools include XLR or USB cables, adapters, headphone splitters, spare batteries, memory cards, cable ties, power strips, and external storage. These small items can prevent delays when a cable fails or a memory card fills during an interview.
Mic Stands, Boom Arms, and Pop Filters
A stable stand or boom arm keeps the microphone in a steady position. A shock mount helps reduce desk vibration and handling noise. These accessories support a consistent distance, which keeps your voice level from changing during a recording.
A pop filter reduces bursts of air from sounds such as “p” and “b.” It does not replace correct microphone placement. Keep the microphone at a suitable distance, and speak slightly off-axis when needed to soften plosives.
Your basic podcast equipment should fit your workflow, not fill the room. Review the podcast studio equipment list below before you buy, and match each item to your number of hosts, recording location, and editing needs.
1. Microphone: Choosing the Best Podcast Microphones for a Professional Studio
The right podcast microphone makes your voice sound clear and natural. Think about your room, recording style, and connection needs. The best equipment isn't always the most expensive. It's what fits your voice and workflow.
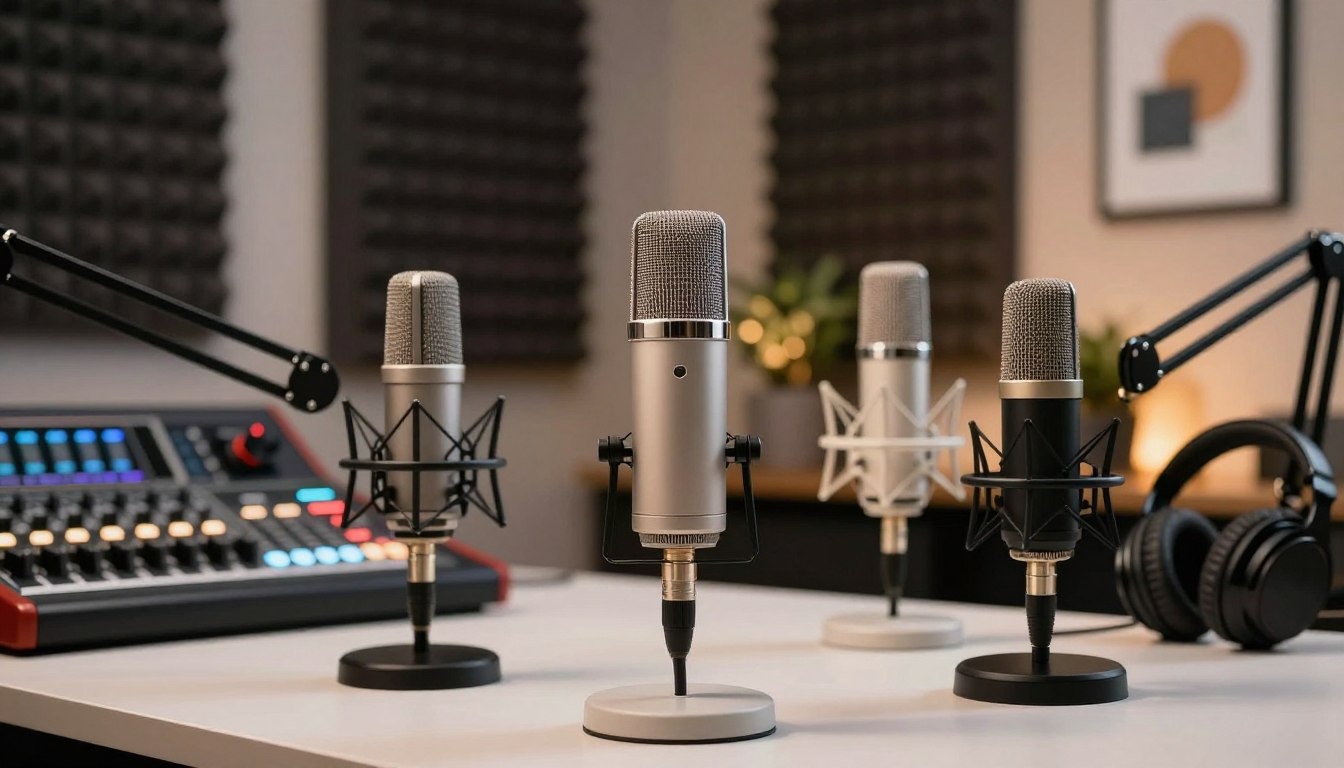
A dynamic microphone is great for rooms without special sound treatment. It blocks out more background noise and works well for close-up recording. The Shure SM7B, Rode PodMic, and Electro-Voice RE20 are top picks in this category.
A condenser microphone captures more detail and a wider range of vocal tones. It's best for quiet, treated rooms. But, it might pick up background noise like traffic or computer fans. The Rode NT-USB+ is a good example of a condenser USB model.
A cardioid pattern captures sound mainly from the front. It blocks out much of the sound behind, reducing room noise. This pattern is perfect for most solo shows and guest interviews. An omnidirectional pattern captures sound from all directions. A figure-eight pattern captures sound from the front and rear, ideal for certain face-to-face interviews.
A USB microphone makes a one-person setup easy. It connects directly to a computer with minimal extra gear. An XLR microphone offers more control through an audio interface or mixer. It's great for two or more speakers. Hybrid models, like the Shure MV7 and Audio-Technica ATR2100x-USB, offer both connection types.
Look at each microphone's sensitivity, self-noise, and frequency response before buying. Sensitivity affects how much sound reaches the input. Self-noise should be low for quiet speech. A good spoken-word frequency response supports clear consonants and controlled low frequencies.
Check the microphone's maximum sound-pressure level for loud voices or music. Review gain requirements for XLR microphones with interfaces. Some models need more clean gain than a basic interface can provide. Condenser models often need phantom power, while most dynamic models do not. Confirm the connector type, cable needs, and available input before ordering.
The Shure MV7 is great for creators who want USB and XLR flexibility. The Shure SM7B and Electro-Voice RE20 are broadcast-style dynamic designs. The Rode PodMic is a budget-friendly option for spoken-word recording. The Rode NT-USB+ is a convenient condenser USB microphone. These products cater to different needs, not just one.
For the best microphones for ai podcast production, start with a clean original recording. AI can help with transcription, noise reduction, voice cleanup, and editing. But, it can't fix echo, clipping, or heavy background noise. A clear recording helps AI tools produce natural results and reliable speech recognition.
Use steady technique with any podcast microphone. Keep the same distance from the capsule, aim it toward your mouth, and avoid touching the stand. Use a pop filter to soften strong “p” and “b” sounds. Record a short test before every session. This habit helps you catch gain, noise, and placement issues before the full recording.
When you need professional podcast equipment, match the microphone to your room and production plan. A USB microphone is perfect for solo hosts. An XLR microphone offers room to expand with better preamps, mixers, and multiple inputs.
2. Audio Interfaces: Best for Multi-Person Podcast Setup
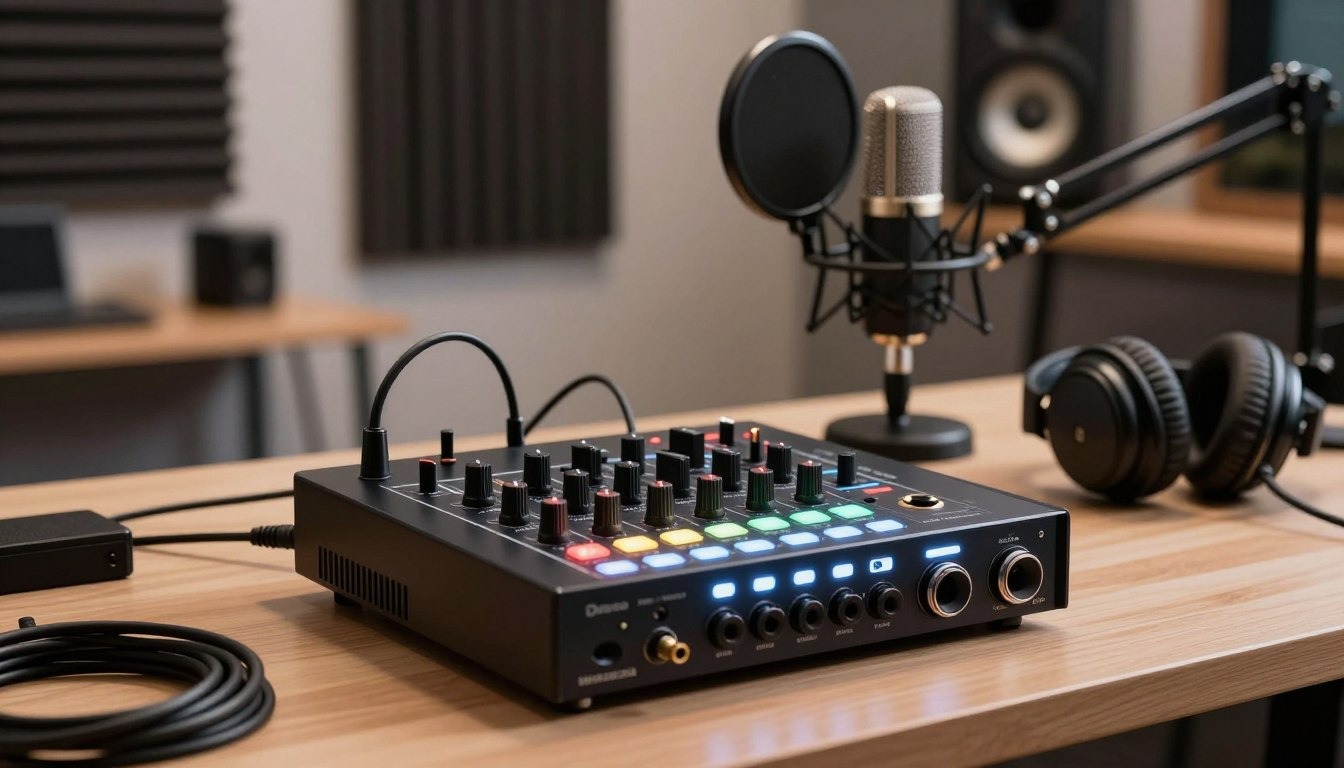
Your interface, mixer, or recorder manages the path from each microphone to your computer, camera, headphones, or storage card. The right device gives you clean gain, clear monitoring, and control over each speaker. Your choice depends on host count, recording location, and editing needs.
USB Audio Interfaces for Simple Podcasting Setups
A USB audio interface is perfect for one- or two-person shows. It connects to your computer with a USB cable and accepts microphones through XLR inputs. Models like the Focusrite Scarlett 2i2, Universal Audio Volt 2, and PreSonus AudioBox USB are great for this.
Make sure to check the input count before buying. Each XLR input supports one microphone and one separate recording channel. You can set each voice with care using independent gain controls. Headphone outputs support live monitoring, while direct monitoring reduces delay in your headphones.
Many interfaces include phantom power for condenser microphones. Confirm if your microphone needs it before turning it on. A compact interface can be the heart of a podcast equipment kit for 2, perfect for simple controls and a fast computer-based workflow.
Podcast Mixers for Multiple Hosts and Guests
A podcast mixer offers more control for busy recordings. The RØDECaster Pro II and Zoom PodTrak P4 support several microphones, separate headphone feeds, and quick level changes. They're great for shows with in-room guests, co-hosts, or live production needs.
Many podcast mixers include sound pads for music, effects, and saved clips. Mix-minus features can prevent an echo during phone calls. Guest connections may include a phone, computer, or remote audio feed. Count every source before choosing a device.
- Count one input for each host and in-room guest.
- Reserve an input for a phone call or remote guest when needed.
- Include instruments, sound effects, and backup channels in your plan.
- Match the number of headphone outputs to the people in the room.
For podcast equipment for 4, plan for one microphone, one headphone connection, and one recording channel per person. This approach leaves less room for level errors during a live session. It can support a professional podcasting setup when paired with good microphones and acoustic treatment.
Portable Recorders for Interviews and Remote Production
A portable podcast recorder is handy when a computer is inconvenient. The Zoom H4essential, Zoom H6, and Tascam Portacapture X8 work well for field interviews, conferences, outdoor sessions, and travel. These units record to an SD card and can run on batteries.
Multitrack recording gives each speaker a separate file or track. You can adjust one voice, remove an isolated problem, or apply different processing during editing. A single mixed file offers less control when one person speaks too loudly.
Review battery life and SD-card compatibility before a remote session. Onboard limiters can reduce sudden peaks. Strong preamps help you capture quiet voices with less hiss. Check headphone volume in noisy locations. USB transfer should be simple and reliable.
Safety tracks can protect your recording from clipping. A backup device, second memory card, or camera audio track adds another layer of security. Test batteries, cables, and storage before you leave for the interview.
3. Editing Software: Top Software Tools for Podcast Recording and Editing
Your software should handle everything from recording to exporting your podcast files. For beginners, it's all about simple controls. As your show grows, you might need more advanced features like multitrack editing and detailed processing.
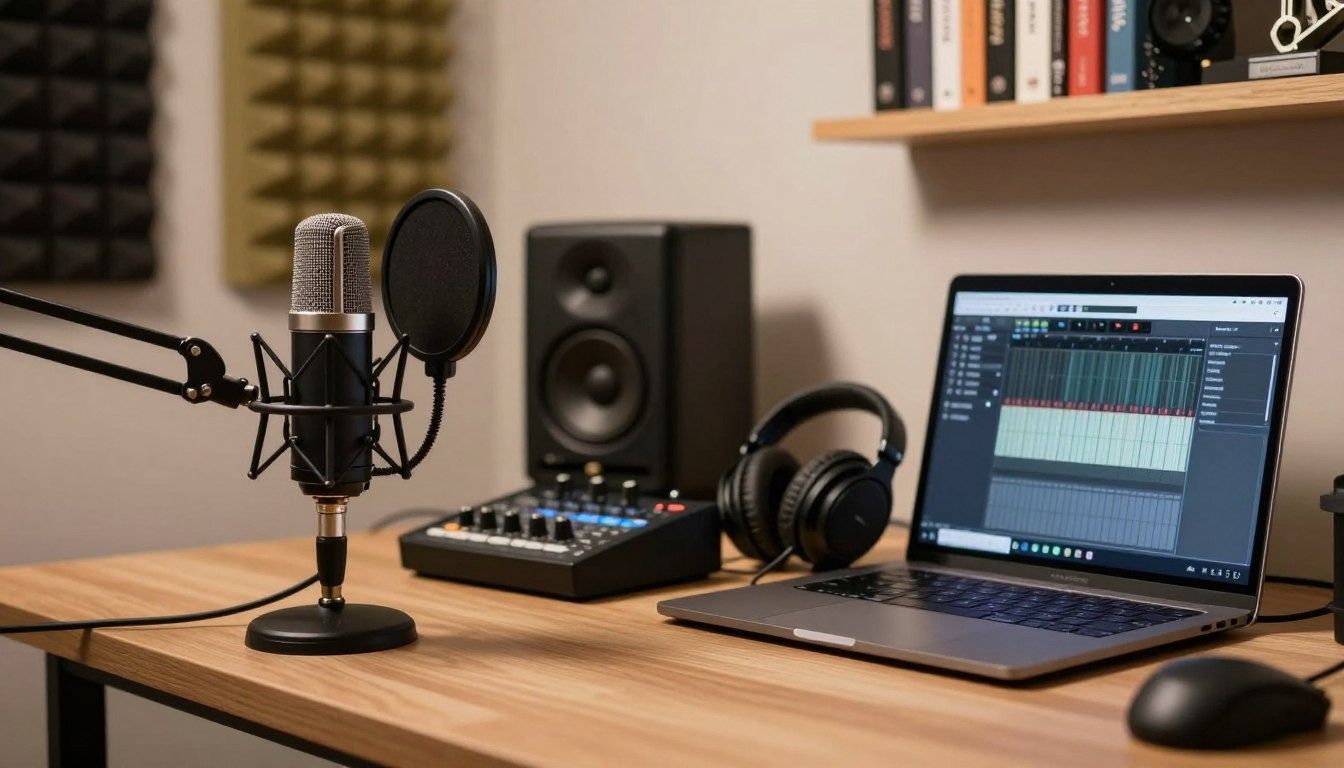
Audio Recording and Editing Software
Audacity and GarageBand are great for beginners. They help you edit out mistakes and balance audio levels. They're perfect for shows with one or two voices.
For more complex needs, Adobe Audition, Reaper, Hindenburg Pro, and Descript are better. They support multitrack editing and advanced audio processing. Descript uses text to speed up editing, while Reaper offers deep control at a good price.
Good podcast software should have markers, project files, and export options. Before publishing, check each voice level. Use equalization, compression, and noise reduction to improve your audio.
Keep raw files and save each project. Use clear names for your files. Store backups on your computer and in the cloud. Export a high-quality master before making smaller versions.
Remote Podcast Recording Platforms
Remote recording works best with separate tracks for each guest. Riverside, SquadCast, Zencastr, and Cleanfeed record high-quality audio in a browser. They also protect recordings during unstable internet connections.
Before recording, send guests instructions. Ask them to use headphones and keep their microphone close. A quiet room with soft furnishings is best.
Check browser support and device settings before recording. Run a test with each guest and confirm input levels. Use backup recording when available. Keep a local safety track for important interviews.
Music, Sound Effects, and Audio Cleanup Tools
Music and sound effects make your show unique. Use licensed tracks for intro music and transitions. Keep your assets organized in labeled folders.
iZotope RX and Auphonic offer tools for audio repair and leveling. Built-in tools can handle de-essing and basic noise reduction.
Choose tools that fit your recording style and editing skills. For a new show, start with reliable software, closed-back headphones, a good microphone, and a backup system. This setup keeps your workflow simple and effective.
Video Podcast Setup Equipment for Professional Content
A top-notch video podcast setup needs clear audio and reliable video tools. Your gear list might include microphones, cameras, lenses, tripods, lighting, backgrounds, memory cards, capture devices, and editing software. Each item should help you record smoothly and keep a consistent look.
First, focus on sound quality. Bad audio can ruin a great episode, even with simple video. Use good microphones, an audio interface, headphones, and a quiet room before you upgrade your camera. This way, you can build your setup without wasting money on unnecessary gear.
Your equipment should fit your recording style. Webcams are easy to use and stream quickly. The Logitech Brio and Elgato Facecam are great for desk-based shows. Smartphones work well in bright light but have limited recording controls and mounting options.
Mirrorless cameras offer better image quality, interchangeable lenses, and handle low light well. The Sony ZV-E10 and Canon EOS R50 are good for creators needing fast autofocus and flexible lenses. For advanced recording, consider a cinema camera like the Panasonic Lumix GH6, but it might need more setup time.
A stable camera setup is key to avoid shaky footage and unwanted framing changes. Use tripods for fixed angles, C-stands for heavier cameras, and desk mounts for small spaces. Wall mounts save room in tight studios. For multiple hosts, match camera height and angle. Recording each person on a separate camera gives you more editing control.
Choose your resolution and frame rate before recording. Full HD is common, but 4K gives you more flexibility. A shutter speed near double your frame rate creates natural motion. Manual exposure and white balance prevent brightness and color shifts during conversations. Consistent lighting makes skin tones and backgrounds look even.
If your camera feeds a computer, use an HDMI capture interface like the Elgato Cam Link 4K. Other HDMI capture devices support live production and streaming. Check camera output limits, cable length, recording format, and power needs before recording.
Keep spare batteries, continuous power adapters, fast memory cards, HDMI cables, and lens cleaning supplies in the studio. A small teleprompter helps you follow questions without losing eye contact. A slate, hand clap, or simple visual cue makes syncing separate audio and video tracks easier.
Good tools help create better podcast content, but a repeatable workflow is just as important. Test focus, sound levels, framing, storage, and power before each recording. Save matching camera profiles for regular guests to keep a steady visual style in each episode.
4. Studio Lights and Background Equipment
Good podcast studio lighting makes your video look natural. Plan the light's direction, height, brightness, and color. Your face should be well-lit without shadows, glare, or bright spots on glasses.
Key, Fill, and Backlighting for Video Podcasts
Three-point lighting is great for most video podcast setups. The key light is the main light. Place it above and to the side of the camera, aiming gently at your face.
The fill light softens the contrast on the darker side of your face. It should be less bright than the key light. A wall bounce or small diffuser works well for soft fill without adding another strong light.
The backlight is behind you, aimed at your shoulders or head. It adds depth and separates you from the background. Make sure the light is aimed at you, not the lens, to avoid flare and spill.
For balanced video podcast lighting, match the color temperature of each light. Daylight settings near 5,000–5,600K give a bright, natural look. Warm settings near 3,000–3,500K create a softer mood. Test the brightness with your camera before recording.
Softboxes, LED Panels, and Ring Lights
Softbox lighting spreads light evenly, reducing harsh shadows. Godox softboxes are popular for home studios. Choose a size that fits your room and camera distance.
LED panels are space-saving and offer fast control. Many LED podcast lights let you adjust intensity and color temperature. Elgato Key Light and Aputure Amaran panels are great for small desks and wall mounts.
A ring light for podcast use provides even frontal illumination. It makes eyes look bright and reduces facial shadows. Some creators like the circular catchlight, while others find it distracting. Neewer lighting kits are affordable for small video sets.
Bi-color lights keep a natural look consistent. RGB lights can add color to a wall or shelf. Use color carefully. A consistent visual style supports your brand better than a room full of changing colors.
Podcast Studio Backgrounds and Set Design
Your podcast studio background should enhance the conversation without distracting from it. Use painted walls, bookshelves, and curtains to create depth. Modular backdrop systems are useful for recording in different locations.
Good podcast set design leaves space between you and the background. This improves depth and reduces shadows. Keep books, cables, and props organized. Avoid mirrors, glossy surfaces, visible clutter, and moving objects that pull attention from the host.
Secure every light stand and add sandbags when needed. Do not overload outlets. Route cables away from walking paths and cover them when necessary. Hot lights need open space for ventilation. A consistent set makes your YouTube episodes, social clips, livestreams, and promotional material feel connected.
5. Acoustic Treatment and Soundproofing
Clear speech starts with the room. Podcast studio acoustic treatment controls reflections and reverberation inside your space. Podcast soundproofing aims to limit sound moving through walls, doors, floors, ceilings, and windows.
Soundproofing may need added mass, sealed gaps, decoupled surfaces, and a solid door. Treatment uses panels, rugs, curtains, and other materials to shape the sound you record. This difference matters when you plan your podcast studio setup home studio guide.
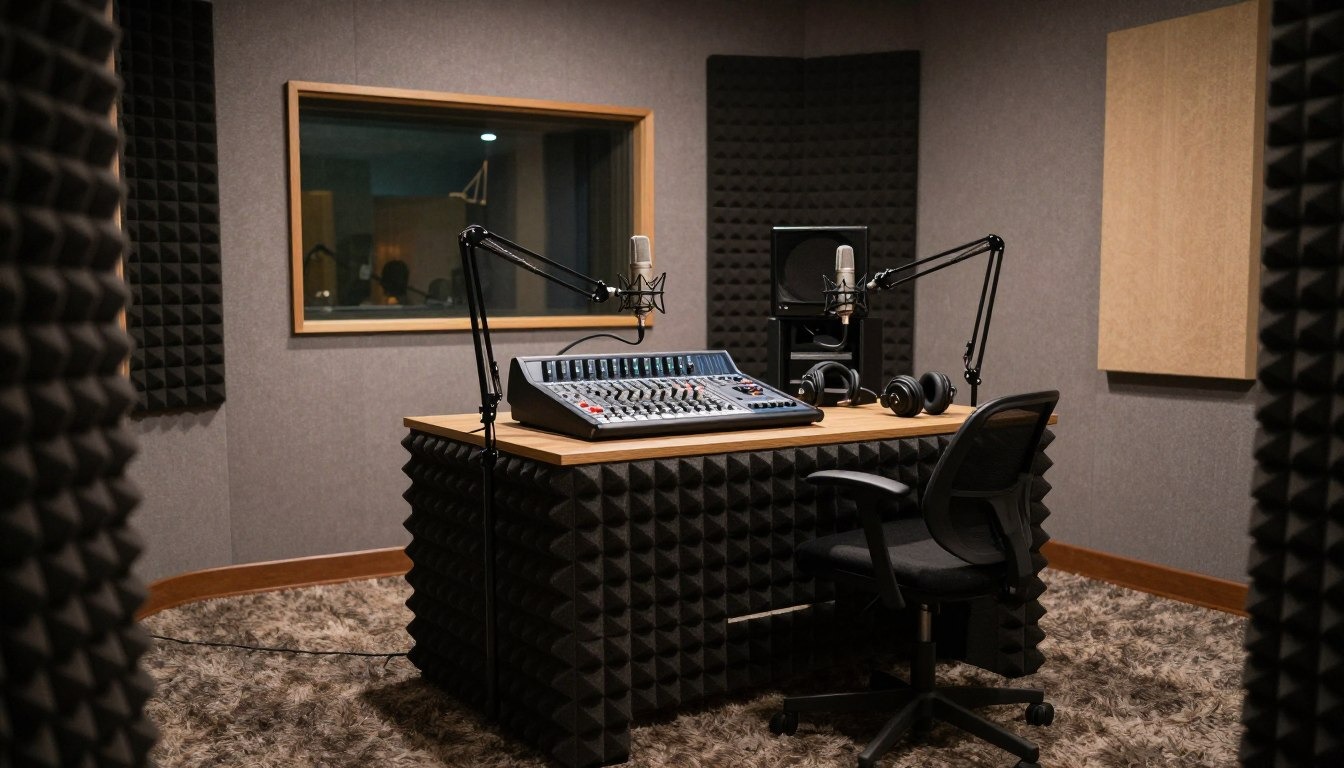
Acoustic Panels, Bass Traps, and Reflection Filters
Bare walls, hard floors, windows, ceilings, and empty shelves can reflect speech. These surfaces may make your voice sound distant, sharp, or hollow. Acoustic panels for podcast rooms absorb many of these reflections when you place them at early reflection points.
Use porous panels with enough depth to absorb a useful range of sound. Place them behind or beside the microphone when the room layout calls for it. Treat parallel walls to limit flutter echo. Ceiling clouds can help in rooms with tall ceilings or hard floors.
Bass traps manage low-frequency buildup in corners. Small foam tiles alone may not control bass or block traffic noise. A reflection filter can reduce sound that reaches the rear of a microphone, yet it cannot replace full room treatment.
Reducing Echo, Noise, and Room Reflections
To reduce podcast echo, start with the microphone. A close-miked dynamic microphone often captures less room sound than a distant setup. Keep the microphone away from windows, bare walls, and loud equipment. Test several positions before buying more treatment.
Common noise sources include HVAC units, refrigerators, computers, plumbing, traffic, footsteps, and nearby rooms. Electrical hum may come from poor cables or nearby power devices. Microphone handling can create bumps that treatment will not fix, so use a stable stand and avoid touching the desk.
Close doors and turn off noisy appliances during recording. Heavy curtains, rugs, and soft furniture can reduce high-frequency reflections. These steps improve the room sound, yet they do not stop loud noise from entering through thin walls.
Budget-Friendly Home Studio Sound Treatment
Good home studio sound treatment does not require a costly renovation. Record in a furnished room with a couch, bookcase, rug, and curtains. Place portable acoustic gobos around the recording area when you need more control.
Blankets and mattresses can provide temporary absorption. Keep them clear of vents, lights, outlets, and electrical equipment. Do not block ventilation or create a fire risk while building a temporary recording space.
- Place a rug over a hard floor.
- Hang thick curtains over windows.
- Move the microphone away from glass and bare corners.
- Use panels at early reflection points.
- Turn off fans, appliances, and loud computers.
- Seal visible gaps around doors when practical.
These steps improve your recording space before major construction. Careful placement, a suitable microphone, and focused treatment can deliver a cleaner voice without filling every wall with foam.
Podcast Equipment for Two or Four Hosts
A podcast with more than one host needs a microphone, headphones, and recording channel for each person. This setup ensures clear speech and steady volume. It also makes editing easier.
For two hosts, you'll need two dynamic XLR microphones, a two-input interface or mixer, and headphones for each. Add stands, pop filters, XLR cables, and recording software. This kit keeps the signal path simple and gives each host their own track.
Your mixer should have separate gain controls for each microphone. Each host also needs to control their headphone volume. This way, you can fix audio issues without affecting others.
A four-person podcast needs at least four microphone inputs and four headphone outputs. You can use an audio interface, mixer, or recorder with these features. A dedicated headphone amplifier is useful if your main device has fewer connections.
Good options include the RØDECaster Pro II, Zoom PodTrak P4, Focusrite Scarlett 18i8, and PreSonus Studio 68c. These products offer different solutions for multi-host podcasting, from portable to full desktop control.
When choosing equipment for four hosts, look for multitrack recording, independent gain control, and enough power for all microphones. For remote guests, find mix-minus routing. This feature prevents echo from their own voice.
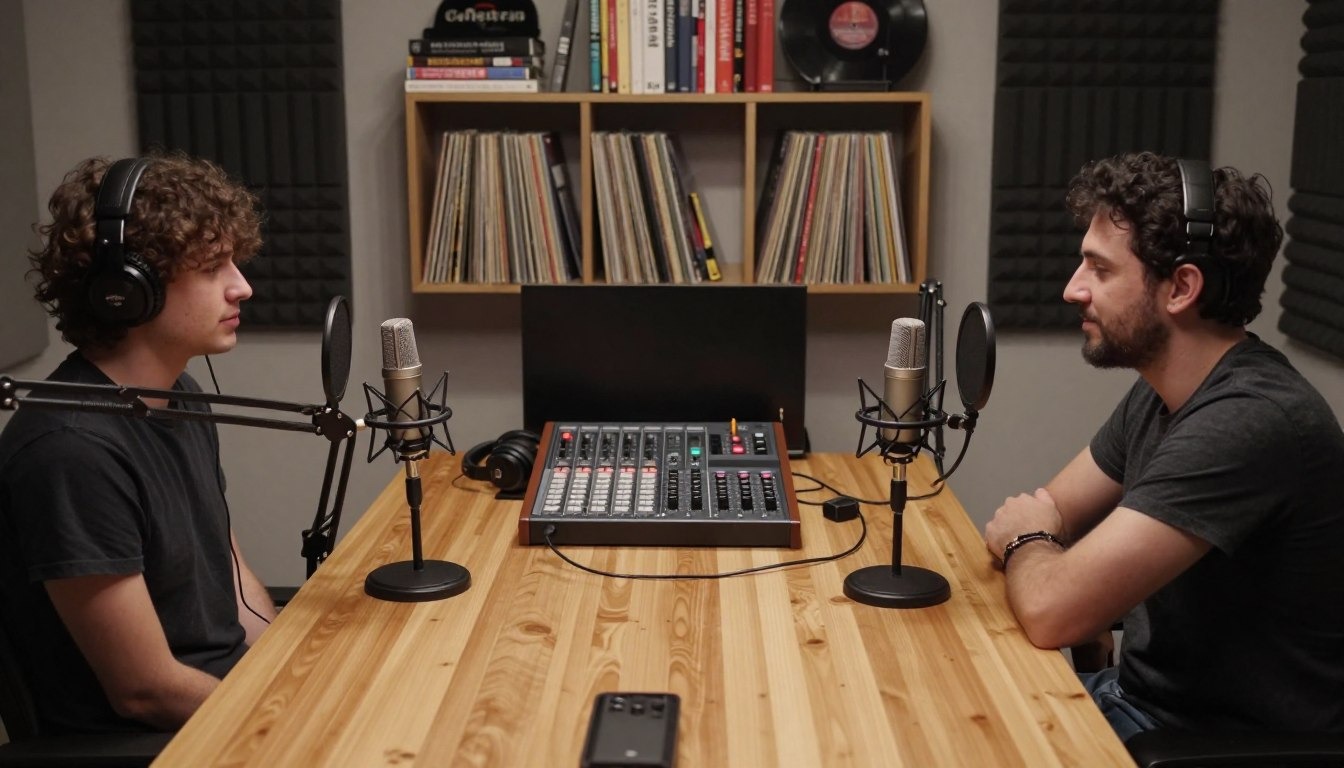
Plan the seating before setting up your equipment. Make sure each person has enough space from the microphone. Place stands or boom arms so they don't block cameras.
- Microphone placement: Keep each speaker at a similar distance from the microphone.
- Cable routing: Run XLR, headphone, USB, and power cables along the rear or underside of the table.
- Power needs: Use a reliable power strip with room for the mixer, computer, lights, cameras, and chargers.
- Room sound: Add acoustic panels, rugs, curtains, or soft furniture to reduce reflections.
- Camera framing: Leave space for every host, microphone arm, and guest without crowding the shot.
For four hosts, a complete bundle may include four microphones, boom arms, pop filters, headphones, spare cables, and a backup recorder. Label each channel before recording. This makes editing faster and helps spot problems early.
Test the full workflow before recording an episode. Check guest connections, headphone monitoring, multitrack capture, backup recording, and camera synchronization. A short test allows you to fix gain levels, cable faults, seating issues, and lighting problems.
Home Podcasting Setup: Building a Studio in Any Room
A good home podcasting setup begins with the room, not the equipment. Look for a quiet spot with soft furniture and controlled lighting. Make sure there's room for your chair, desk, mic, and camera.
Steer clear of big rooms with hard floors and bare walls. Kitchens, bathrooms, and busy windows can introduce noise. A bedroom, study, or basement is often better for a home podcast studio.
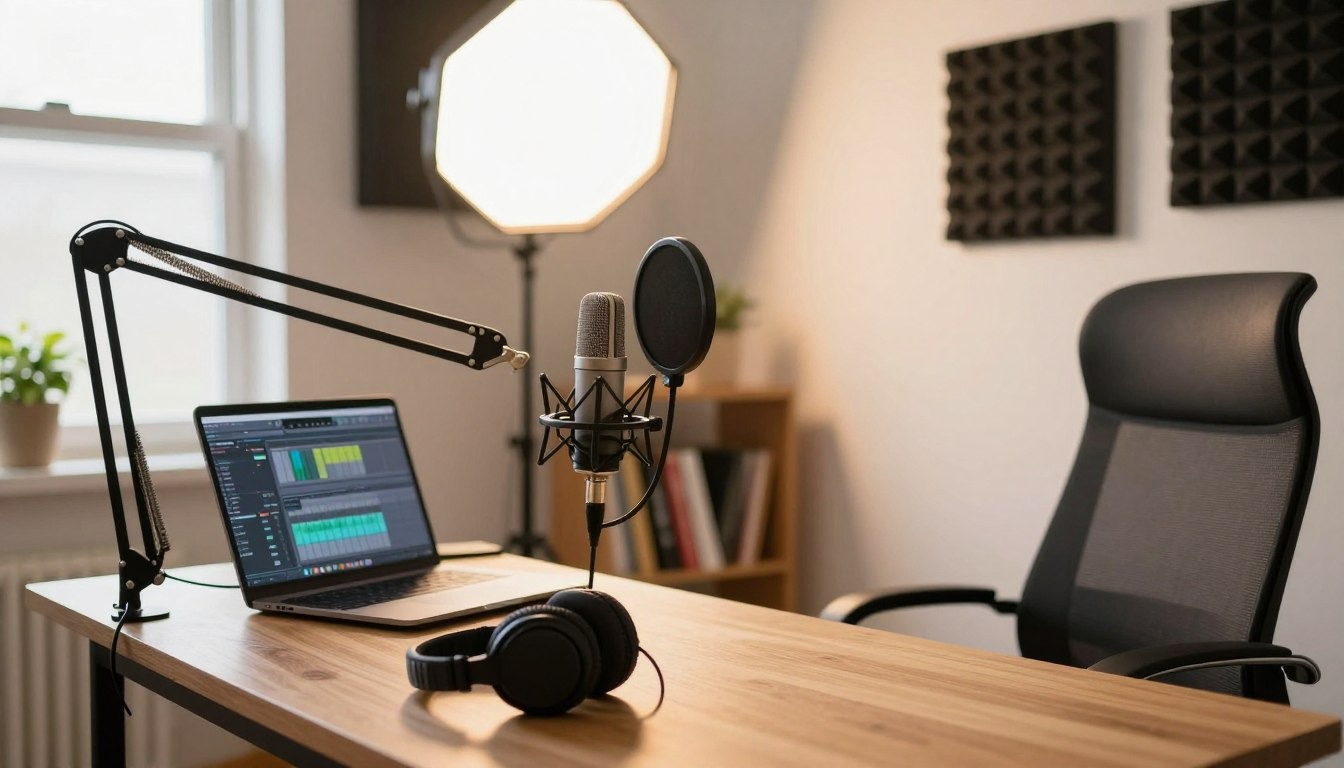
Small-Room Podcast Studio Setup Ideas
In small spaces, use compact gear. Opt for a short boom arm and narrow desk. Wall-mounted holders for headphones or accessories are also useful. Portable acoustic panels can soften reflections without taking up much space.
Foldable microphone stands are great for clearing the room after recording. A single-camera setup saves space. These small-room podcast studio setup ideas are perfect for renters or shared rooms.
Position your microphone away from walls and corners. Test your voice before recording a full episode. A short clap or spoken sample can reveal echo and unwanted noise.
Desk, Seating, Cable Management, and Power Solutions
Your desk should be stable when typing or moving your hands. It should support your audio interface, computer, and notes without shaking the mic. Choose a chair that doesn't squeak and supports good posture.
Label each cable before connecting your podcast setup home studio. Use hook-and-loop ties, cable trays, and under-desk channels to keep wires organized. Separate audio, video, and power runs to reduce clutter and interference.
- Use grounded outlets and a surge protector for essential equipment.
- Consider an uninterruptible power supply for the computer and recording drive.
- Keep power strips within their rated load.
- Route cables away from walkways, chair wheels, and heat sources.
Home Podcasting Setup for Audio and Video
For audio-only work, focus on microphone placement, headphone monitoring, room treatment, and reliable recording software. Keep the microphone close for a clear voice but far enough to avoid breath noise.
A home video podcast setup requires a camera, tripod, key light, and clean background. Add a capture device if needed. Your computer should handle recording or streaming without issues.
A modular studio can be easily set up and taken down. This is useful when sharing a room, renting, or recording in different places. Use this podcast studio setup home studio guide to create a space that fits your needs and available room.
Podcast Equipment for Beginners and First-Time Creators
Your first setup should be simple and easy to use. The right equipment helps you record clear speech without cluttering your room. Start with one host, one microphone, and a quiet place.
A short test episode can guide your next purchase. Check background noise, speech clarity, headphone comfort, file management, and editing time before spending more.
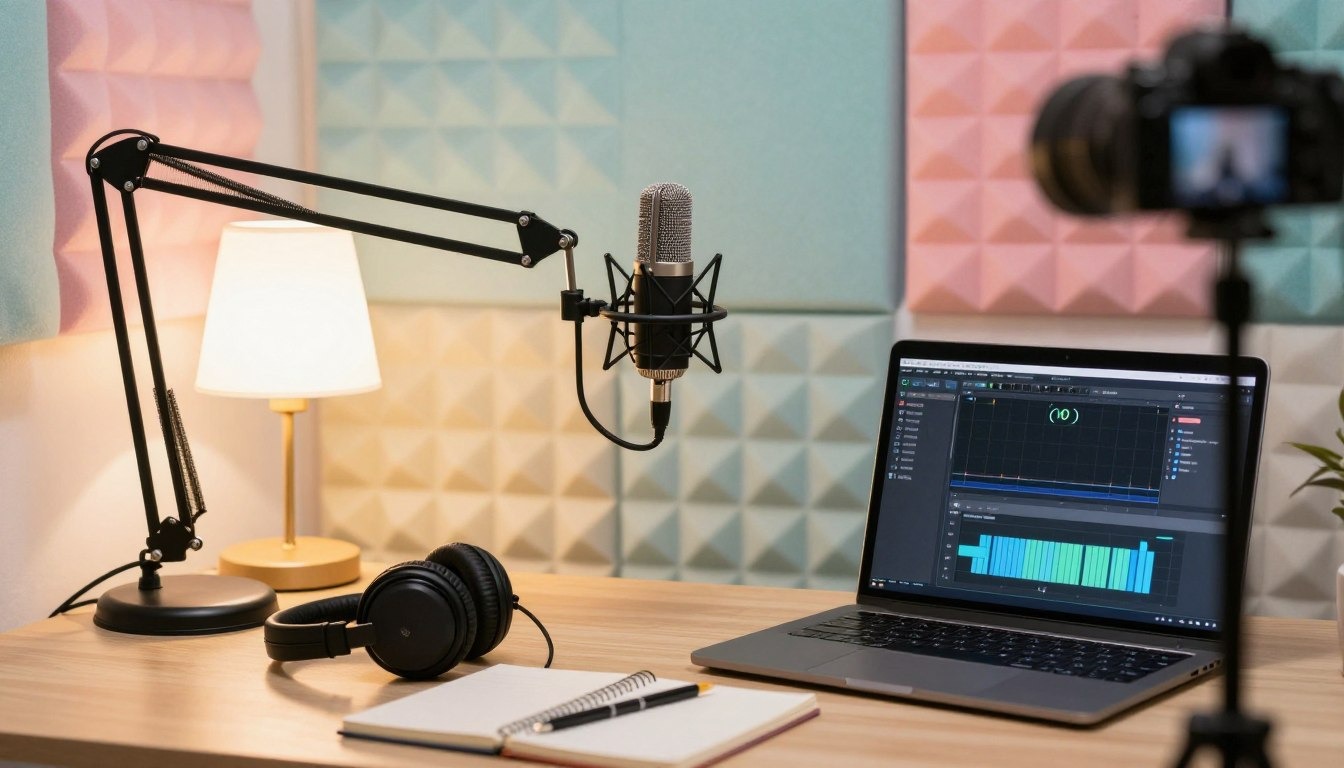
Basic Podcast Equipment You Need to Start
Your minimum setup needs a reliable microphone, closed-back headphones, a USB connection or audio interface, a stand, the correct cable, recording software, and a quiet space. This basic equipment covers recording, monitoring, and simple editing.
- Microphone: The Audio-Technica ATR2100x-USB and Samson Q2U offer USB and XLR connections.
- Headphones: Sony MDR-7506 headphones help you hear hiss, room noise, and uneven volume.
- Stand: A desktop stand or boom arm keeps the microphone stable and close to your mouth.
- Software: Audacity and GarageBand provide useful tools for recording, editing, and exporting audio.
- Room: A small room with soft furniture can reduce echo better than a bare room.
A USB microphone reduces the number of separate parts you need. It connects directly to your computer and starts recording quickly. An XLR system needs an interface but offers a clearer upgrade path for adding hosts, guests, or more microphones.
Keep the microphone six to eight inches from your mouth. Aim it slightly to the side to reduce harsh breath sounds. Use a pop filter when strong “p” and “b” sounds affect your recording.
Best Podcast Starter Kit and Podcasting Kit Options
A podcast starter kit may include a microphone, desktop stand or boom arm, pop filter, shock mount, USB or XLR cable, headphones, and basic software access. This type of kit can save time as each part is designed to work together.
A bundle is not always the best choice. Check the microphone quality, input type, cable length, accessory strength, warranty coverage, and upgrade limits. A low-cost kit may include parts you replace within a few months.
The Rode NT-USB Mini suits creators who want a compact USB microphone. The Focusrite Scarlett Solo works well with one XLR microphone and leaves room for better microphones later. These products fit different needs, so compare your workflow before choosing a set.
Look for comfortable headphones, a firm stand, and a cable that reaches your computer or interface. The best podcasting equipment for beginners should make recording easier, not add extra controls that you rarely use.
Podcast Setup for Beginners on a Limited Budget
Build your setup in stages. Start with one microphone and headphones. Improve microphone placement and room sound before buying new hardware. A blanket, rug, curtain, or bookcase can soften reflections at little cost.
- Buy one USB microphone, headphones, and a stable stand.
- Record a test episode and adjust distance, gain, and room position.
- Add an interface when you need an XLR microphone or better control.
- Add a second microphone when you bring in a co-host or guest.
- Buy lighting and a camera when video becomes part of your workflow.
- Add acoustic panels or bass traps when room problems remain.
For many solo shows, a four-input mixer is unnecessary. Choose it when you expect several hosts or guests soon. The best starter equipment matches your current recording habits and your next realistic step.
Use this guide to compare equipment for podcast beginners before you buy:
Professional Podcast Equipment and Studio Recording Essentials
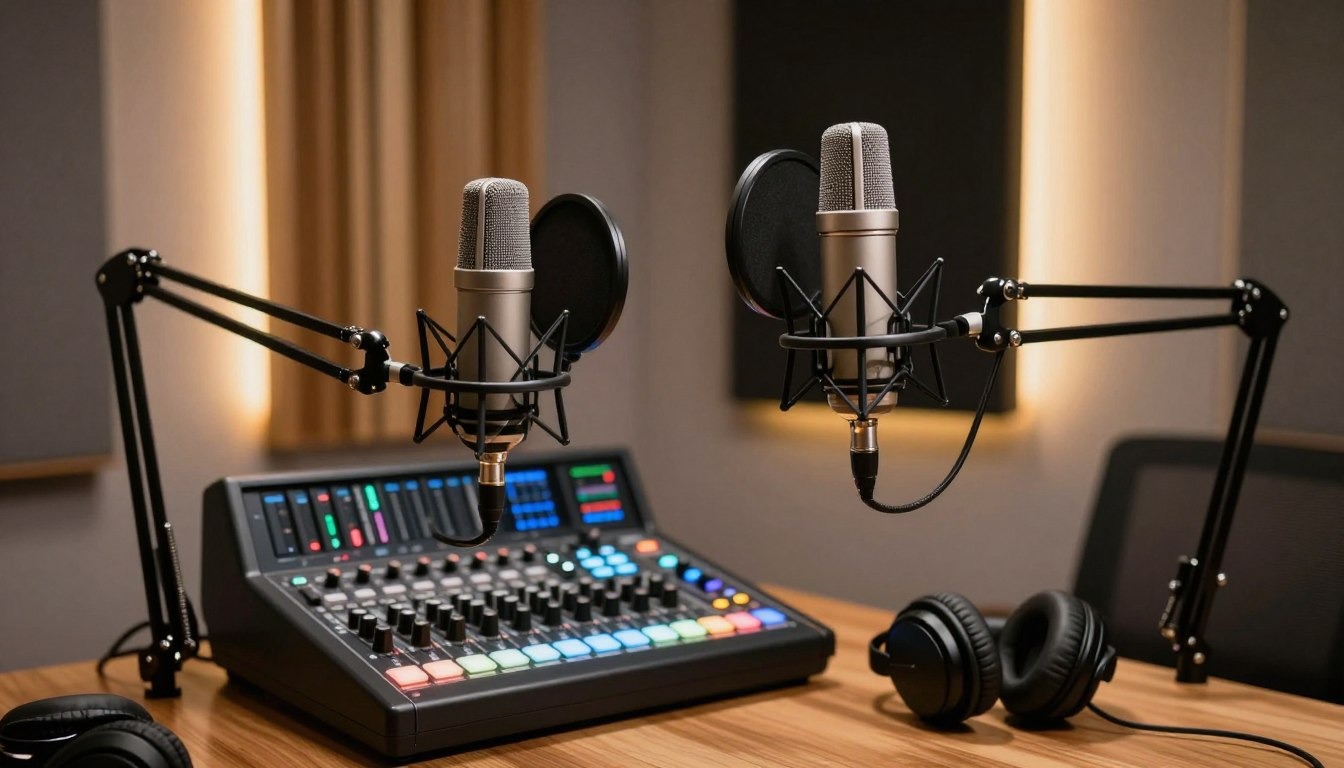
A professional podcast studio is a well-oiled machine. It needs a room, microphones, cameras, monitoring tools, and software. These must work together for great sound and smooth production.
At the heart of a studio recording essentials are broadcast microphones. The Shure SM7B, Electro-Voice RE20, Neumann BCM 104, and RØDE Procaster are top choices. Each has its own sound, design, and room needs.
Some microphones need extra clean gain. You might need a preamp, audio interface, inline booster, or mixer. Always check the manual before using phantom power.
Your professional podcasting setup should have an interface or mixer with many preamps. Look for features like independent headphone mixes, digital routing, and onboard processing. Remote control is handy for adjusting levels without interrupting.
Good headphones are essential for catching issues during recording. Nearfield studio monitors help with editing in a treated room. Keep speakers away from open microphones to avoid feedback.
Recording twice protects your work from technical issues. Record to your computer and another device if possible. Keep backups of all important files on multiple devices.
For professional video, you need more than one camera. Use matched lenses, reliable tripods, and HDMI or SDI for steady coverage. Good lighting and a powerful computer are also key.
The top podcast studio gear only works if your workflow is consistent. Keep records of settings, file names, and guest information. This makes recreating a session easy.
- Check cables, power, memory cards, and storage before each recording.
- Save a standard audio session with tested processing presets.
- Label guest files, camera angles, and backup tracks with clear names.
- Review a short test clip before the full conversation begins.
A top podcast production studio relies on room acoustics, recording technique, and equipment care. Regular maintenance is key. Acoustic treatment, mic placement, and gain control are more important than device prices.
Podcast Studio Setup Cost and Equipment Budget
Your podcast studio setup cost is more than just the microphone. It also depends on the number of hosts, if you're doing audio or video, the room's condition, and the brand level. You'll also need to consider remote recording needs and whether you're buying new or used gear. Your budget should cover the core equipment, room control, software, and backup supplies.
When wondering how much is podcast equipment, think about a range, not just one price. A solo show might need less than a four-person video production with cameras, lights, furniture, and acoustic work.
How Much Does Podcast Equipment Cost?
So, how much does podcast equipment cost? A basic solo audio setup can cost between $150 to $500. This includes a USB microphone, headphones, a desk stand, cables, and recording software.
A setup for one or two people can cost between $500 to $1,500. You might need two dynamic microphones, an audio interface or mixer, monitor headphones, boom arms, pop filters, and simple acoustic treatment.
Video adds to the cost. A camera, lens, tripod, lighting, memory cards, and video software can cost about $1,000 or more. A professional multi-camera studio can cost over $5,000 before you even start building and installing it.
Initial costs include microphones, headphones, interfaces, mixers, stands, cables, cameras, lights, furniture, and storage drives. Ongoing costs might include hosting, remote recording platforms, music licensing, editing software, cloud storage, transcription, and replacement media.
How Much Does It Cost to Build a Podcast Studio?
Building a podcast studio can be expensive. Start with the room. Sealing doors, upgrading windows, adding wall mass, and treating HVAC noise can cost more than the equipment. An acoustic professional may charge a lot for testing, design, and installation.
Sound treatment and soundproofing have different goals. Acoustic panels, bass traps, and reflection filters control echo inside the room. Door seals, wall construction, window upgrades, and HVAC changes help block outside noise. A quiet room can improve speech clarity without expensive microphones.
Adding furniture, electrical work, cable routing, network upgrades, and installation labor can increase costs. Save money for adapters, extra cables, memory cards, backup storage, replacement accessories, and unexpected compatibility needs.
Used gear can save money. Check connectors, knobs, battery compartments, headphone outputs, and firmware support before buying. Look at the warranty status, serial number, and signs of moisture or smoke exposure. A low price may not be worth it if the recorder or mixer needs repair.
Podcast Studio Setup Cost by Experience Level
Beginners should focus on reliable audio. Spend your first dollars on a good microphone and basic room control. A dependable USB setup can help you publish without an interface or complex routing.
As you grow, you might need separate channels for two hosts or guests. At this level, prioritize an interface or mixer, closed-back headphones, stable stands, and remote recording support. A larger budget can improve workflow without needing a full studio.
Experienced producers can add cameras, lighting, acoustic construction, redundant storage, and backup recording paths. Spend money in this order:
- Microphone quality and room control.
- Monitoring and recording reliability.
- Camera and lighting upgrades for video.
- Furniture, storage, subscriptions, and installation.
This approach keeps your podcast studio setup cost tied to production needs. Your costs may rise as your show grows, adding hosts, video goals, remote guests, or a dedicated room.
How to Choose Podcast Equipment Bundles and Tools
Choosing a bundle can make setting up your first studio easier. Look for bundles that include parts that work well together. Avoid bundles with low-cost extras that you might replace soon.
Before you buy, think about how many hosts you'll have, the size of your recording space, and your video plans.
Podcast Equipment Bundle Buying Checklist
Use this checklist to compare each podcast equipment bundle. A lower price doesn't matter if key parts are missing or hard to replace.
- Hosts and guests: Count every person who may speak at once. Each voice needs a microphone and a headphone connection.
- Microphone type: Choose USB microphones for simple computer setups. Choose XLR microphones when you need an interface, mixer, or future routing options.
- Inputs and outputs: Check the input count, headphone outputs, and independent volume controls. Four hosts may need four inputs and four headphone feeds.
- Connections: Confirm USB, XLR, TRS, HDMI, or other standards before you order. Check that your computer, camera, and interface use matching ports.
- Software: Verify compatibility with recording software such as Audacity, GarageBand, Adobe Audition, or Reaper.
- Room sound: A sensitive condenser microphone may capture room noise. A dynamic microphone can suit a lively home room with less control.
- Video needs: Look for camera inputs, capture support, lighting mounts, and enough desk space for your video podcast setup.
- Portability: A small recorder or compact podcasting kit can help when you record interviews outside the studio.
- Warranty and support: Review coverage, firmware access, repair service, and replacement-part availability.
- Future expansion: Leave room for more microphones, remote guests, multitrack recording, and better cameras.
Check every item inside the podcast equipment kit. Look for cables, microphone stands, shock mounts, pop filters, power supplies, adapters, and recording software. A complete package should not require an urgent trip to a store before your first session.
Compare the bundle price with the street price of each item. Some packages include extra cables or mounts that you may replace soon. A smaller package with strong microphones and a reliable interface can offer more value than a large box filled with weak accessories.
Podcast Studio Setup Equipments and Tools for Sale
When you browse podcast studio setup equipment & tools for sale, identify the condition of every product. Listings should state whether an item is new, refurbished, used, open-box, or imported. This detail can affect the warranty, power supply, menu language, and access to service.
Read the return policy before you pay. Check whether the manufacturer supports the product in the United States. Review firmware availability and the cost of replacement parts, such as power cables, mounts, batteries, and headphone pads.
Brand names can help you compare products by category, yet the intended workflow matters more than the logo. You may compare Shure and Rode microphones, Focusrite interfaces, Zoom and Tascam recorders, or Sony, Canon, and Panasonic cameras. Elgato, Aputure, Godox, and Neewer offer useful options for lights and video tools.
Use a simple signal check before buying. A USB microphone should connect to your computer and recording software. An XLR microphone should connect to an interface or mixer. The interface or mixer should connect to your computer through USB.
A camera may record to internal memory or connect through a capture card. Connect headphones to the interface or mixer when you need centralized monitoring. Plugging headphones into one microphone may not let every host hear the full mix.
Best Podcasting Equipment for Beginners Versus Professional Gear
The best podcasting equipment depends on your daily production needs. For a beginner, focus on easy controls, dependable connections, comfortable headphones, and a clear upgrade path. A modest USB microphone may serve you better than a complex professional mixer.
When comparing beginner gear versus professional gear, review the time saved during setup. Beginners often need a podcasting kit that works with few adjustments. A simple podcast equipment kit can support clean speech, basic editing, and a steady publishing routine.
Professional users should prioritize preamp quality, independent headphone mixes, multitrack recording, redundant capture, routing flexibility, remote guest support, and camera integration. Long-term reliability matters when your studio supports a regular show, client work, or a large production team.
Buy in stages instead of choosing the largest bundle at once. Start with the tool that solves your main production problem. A careful podcast equipment buying guide can help you add better microphones, lighting, acoustic treatment, or cameras when your workflow proves the need.
Conclusion
Your podcast studio needs a few key items. You'll want a microphone, headphones, and an audio interface. A mixer, recorder, and some extra gear like a mic stand and pop filter are also important. This guide helps you pick the right stuff without overspending.
For video podcasts, you'll need cameras, tripods, and lights. You'll also need backgrounds, storage, and video editing software. If you have a multi-host show, you'll need more inputs and outputs for microphones and headphones.
When choosing your equipment, think about where you'll record, your skills, and your budget. Good room treatment and microphone technique can make a big difference. So can carefully monitor and manage your files.
If you're starting out, begin with the basics and test your workflow. Improve your room and audio first. Then, add video and lighting as your show grows. This guide will help you create a setup that sounds great and looks professional.
Buy Podcast Setup Equipment & Tools Online
- Podcast Microphone
- Headphones
- Audio Interface
- Podcast Mixer
- Microphone Stand / Boom Arm
- Pop Filter
- Shock Mount
- XLR Cables
- USB Cables
- Acoustic Panels
- Portable Audio Recorder
- 4K Podcast Camera
- Studio Lighting
- External Storage Drive